
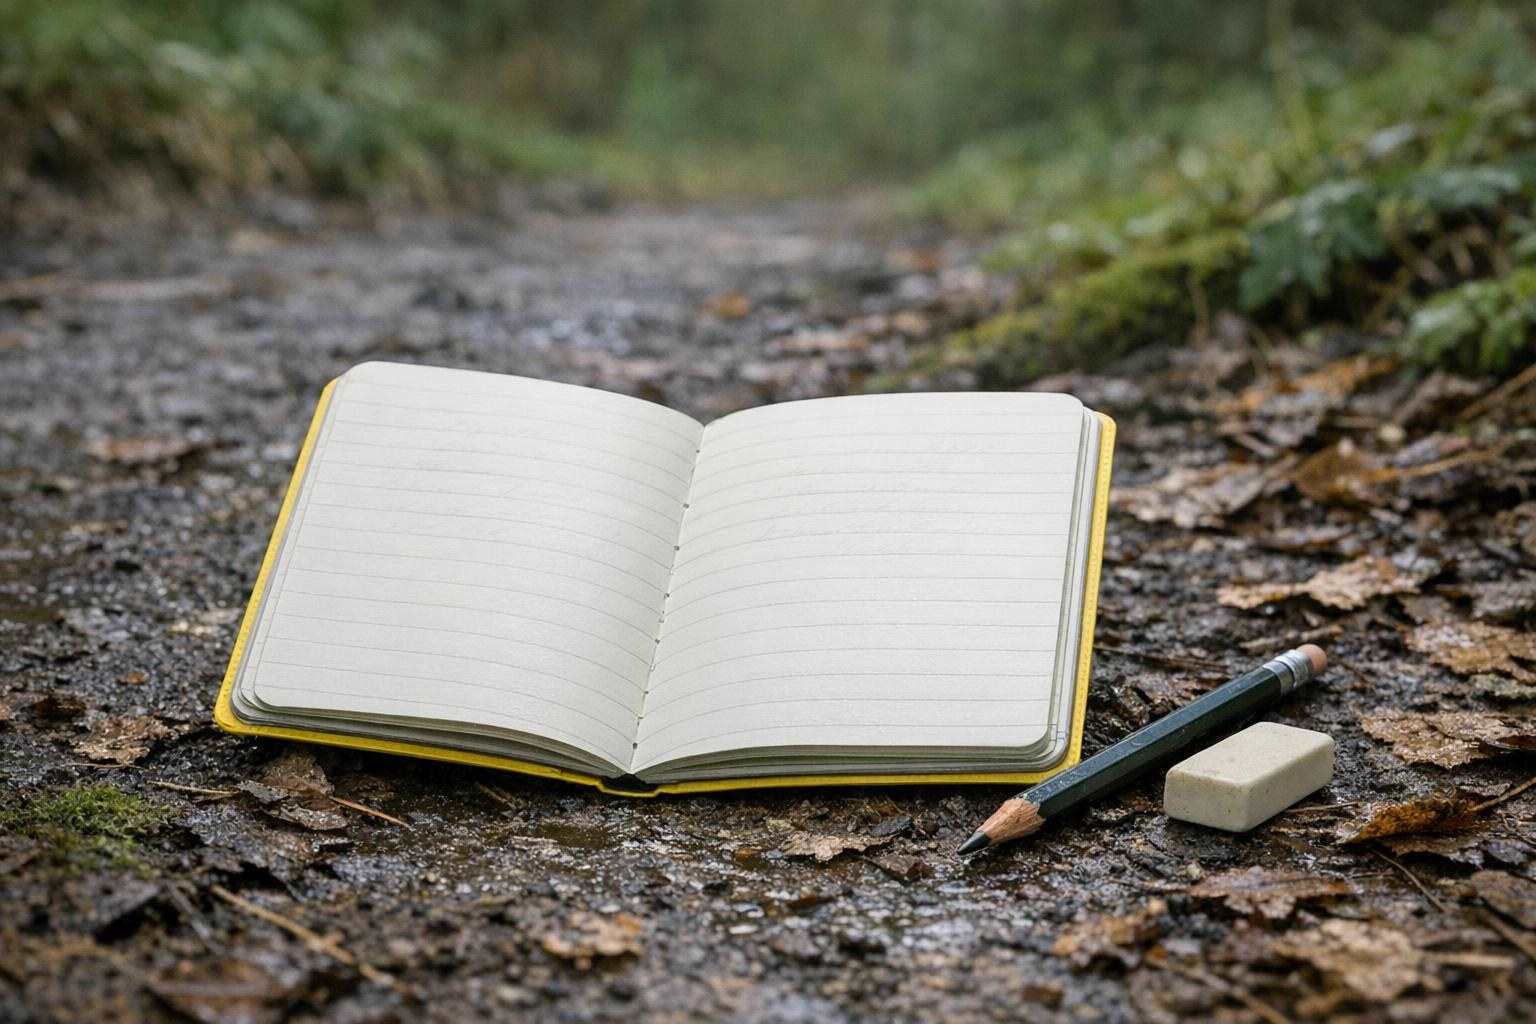
The best outdoor notebook is one that you can easily carry and start to write in straight away, within a minute or so, to make the most of a chance finding, or to write down observations as they occur. It's not good enough for the pages to be ruined by wet conditions, for an elaborate layout to be unused, or for you to scribble down hasty notes, which will have to be re-read and recalled later. You should choose a notebook that fits your route, your writing style and your wet weather tolerance. Then develop a simple method for using it to support your observations.
Start with a job, not a format
First decide what you want to do with your notebook, then choose the covers and paper for that purpose. A notebook for a walker monitoring seasonal changes of plants and their growth will need space for notes on the dates of various plant growth stages as well as observations of weather. A notebook for someone practicing identification of plants and animals will need pages with space for notes and for sketching of what the observer has found. A hunter may use a notebook for a scout to note his observations of habitat and signs of previous hunters on his familiar routes. He may note access points and any changes in a given area caused by mowing, flooding or fallen trees.
This also means that the same notebook can be used for different purposes. A notebook with lined pages is ideal for fast field notes, while a blank book is better for longer notes with sketches and rough maps. A notebook with a grid is also very useful, for comparing the shape of leaves, plotting the route of a walk and writing at an angle. Preprinted prompts can also be very useful for novices, but will quickly become insufficient as the user becomes more experienced and the variety of their observations increases.
Make the main job of your notebook visible on the first page. Write a short key to your notebook such as 'weather, habitat, species, questions' as opposed to setting up a complex system of codes to use in your notebook. If your recording work takes longer than your observing work, then your notebook format is failing.
Choose paper and binding for the route
Paper: Same reason we choose gear for going outside in the first place – outdoor paper choices perform better with smooth writing surfaces (good for fine lines and sharp points) or textured surfaces to help grip a pencil sketch. Protect your notebook in exposed pockets, and don't forget that in cold weather, writing with a cold hand and pencil can be problematic too. Water-resistant paper is not always the best choice for long field notes – resist the temptation for "cool" papers that accept wet ink poorly, are slippery to write on, and erasure is a chore.
Even if a notebook contains water-resistant paper, it doesn't necessarily have to be a model specialized for use outdoors. Such models are usually too expensive, too heavy, or even fall short in terms of writing comfort. Often a simple notebook which can then be placed in a protective pouch will be the better choice for the serious walker.
This is also true for the binding. A sewn book or a very flexible book is better to read in one hand than a very stiff one. Books with spiral binding lay flat but can get caught in your pocket. A small book that won't open is worse than a slightly larger one that will open for you when you need it.
All too often when we purchase a notebook for the outdoors we go for the smallest size available. In reality the notebook must fit your pocket or pouch but more importantly it must be big enough to hold all of your notes written in as much detail as possible.
Build a field-note system you will repeat
Content in field notes needs to be specific so it can be revisited later. Start entries with the date of the note, and then list the time of the observation, location of the observation, and conditions at the time of the observation. The weather does not need to be described in great detail. Rather, describe in detail why animals are moving about, why a trail is muddy, etc.
This basic form can then be modified to fit your needs, but will always form a useful starting point. A simple example for recorded wildlife would be:
– Conditions: light, wind, ground moisture, and recent weather.
– Habitat: woodland edge, field, stream margin, hedgerow, or disturbed ground.
– Observation: what was seen, heard, smelled, or found as sign.
– Confidence: sure, pretty sure, doubt it.
– Follow-up: book to refer to, place to come back to or changes in a habitat to observe.
As mentioned earlier, it is easy to start listing off all of the different creatures that you observed but fail to include any actual evidence to back up your findings. Write down all of the information that you feel is necessary to confirm your earlier observations. 'Bird seen' will be of little use to you down the road, but 'small bird in dense shrub, repeated sharp call, pale wing bar noticed briefly' is a much more helpful starting point for further research.
Bring one good pencil (and a short eraser) and avoid bringing all the other unnecessary items, which you will only avoid bringing. For hasty notation a pencil is much better than a pen. Ink can stain and, more importantly, even permanent ink can sometimes smear on wet paper. Only one color? Well, add it to your notebook entries later, or carry just one simple item to mark the occasional line.
Record wildlife without disturbing it
Try to improve your attention to wildlife without changing the animals' behavior in any way. Try to write from as far away as is necessary, never crowd cover, and never move any parts of plants, tracks, nests, etc. to make better notes. Record the animals' behavior, i.e. direction of travel, posture, calls, etc. and the habitats in which they have been using.
Finally, be aware of what you are recording for location. While a simple note of where you saw something may be sufficient for personal notes, remember that sensitive sites need to be treated with respect. Locations and information about wildlife on protected sites and managed lands need to be shared with respect and according to the current official requirements and permissions for that site and for that type of information.
Then there is the matter of observational fact v. assumption. A track does not have to have been made by a particular animal recently. Browsed plants may be the work of many creatures. And beware of attributing browse to wildlife rather than other animals or even weather. Such observations need to be tagged 'possible' or 'needs confirmation' to alert others as to the limitations of your observations.
Review, repair, and know when to upgrade
Use a notebook as a reference for later. The best way to use a notebook is to add more information to an entry at a later time. Write as many location details as you can recall for an area that you were unable to record. Clarify obscure abbreviations and mark uncertain identification with a question mark.
Go through your previous local walks noting patterns. Perhaps a wet hollow has animal tracks in it. Maybe the habitats around the edges of woodlands change after the trimming. Perhaps birds of a certain species appear at your local patches under certain weather conditions. Use these observations to inform your future excursions, and as the basis for habitat management work.
Even after an outing, check your notebook for wet corners, loose covers, broken pencil points or invisible writing. Change a pouch, use larger format pages, use a simpler template for new observations – in the end change the notebook when it no longer supports your kind of walks.
The best notebook is one that disappears into your walk. When needed to record details, it must be there; on the route; suitable for the conditions. Once in hand it must be simple enough to use without complexity. A pocket record to help you learn a place.